
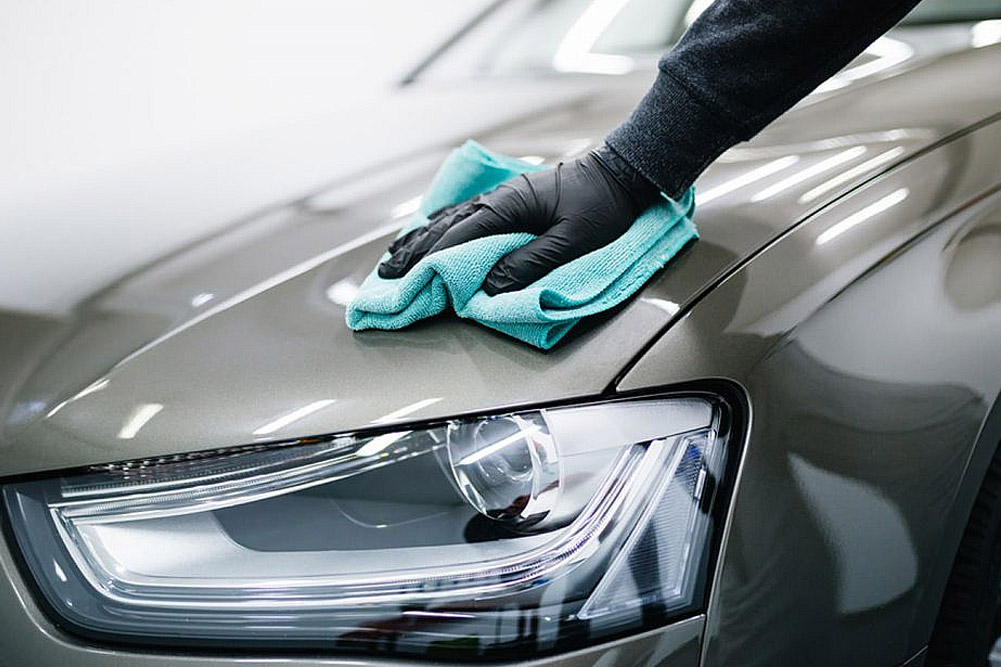

Transforming a heavily used vehicle into a showroom-ready asset requires a systematic approach, professional-grade techniques, and the right sequence of operations. Over time, road grime, environmental fallout, UV exposure, and daily wear degrade both the exterior paint and interior materials. By following a structured detailing process, you can restore clarity to the paint, deep-clean upholstery, refresh trim, and protect surfaces against future damage.
Essential Tools and Supplies for Auto Detailing
To achieve high-end results, standard garden hoses and household cleaners will not suffice. Professional detailers rely on dedicated chemicals and tools designed to safely lift contaminants without scratching delicate automotive finishes.
-
Dual-Action Polisher: A machine that rotates and oscillates simultaneously, eliminating light to moderate scratches without burning the clear coat.
-
Microfiber Towels: High-GSM (grams per square meter) towels ensure scratch-free drying, polish removal, and interior wiping.
-
Clay Bar and Lubricant: Removes embedded contaminants from paint pores that regular washing leaves behind.
-
pH-Neutral Car Wash Shampoo: Gently breaks down dirt without stripping pre-existing sealants or waxes.
-
Carpet Extractor or Steam Cleaner: Deep cleans fabric fibers by lifting ground-in dirt, grease, and moisture.
-
All-Purpose Cleaner (APC): Diluted appropriately for degreasing plastic trim, vinyl, engine bays, and stubborn carpet stains.
-
Iron Decontaminant Spray: A chemical spray that dissolves brake dust and embedded metallic particles on paint and wheels.
Step 1: Cleaning Wheels, Tires, and Wheel Wells
Always start the detailing process with the dirtiest areas of the vehicle. Cleaning wheels first prevents road grime and brake dust from splashing onto newly washed paint surfaces.
Apply a dedicated wheel cleaner formulated to remove stubborn metallic brake dust. Use an iron-dissolving formula that changes color upon contact with ferrous metals. Clean the inner barrel of the wheel using a soft-brilliant barrel brush, then scrub the face with a soft microfiber wheel mitt.
Tires require a stiff-bristled tire brush and a heavy-duty degrease solution to draw out oxidized rubber, old tire dressing, and ground-in dirt. Scrub until the foam turns white rather than brown. Spray down the plastic wheel wells with an all-purpose cleaner and agitate with a long-handled brush to remove hidden mud and road salts before rinsing thoroughly.
Step 2: Exterior Pre-Wash and Decontamination
Washing a vehicle without proper pre-wash steps is the leading cause of swirl marks and spiderweb scratches. The goal of this phase is to safely dissolve and remove heavy debris before touching the paint with a wash mitt.
-
Foam Cannon Application: Cover the vehicle in a thick layer of high-foaming pH-neutral soap using a pressure washer foam cannon. Allow the foam to dwell for five minutes to encapsulate loose dirt and pull it down off the paint surface.
-
Rinse and Two-Bucket Wash: Rinse off the foam thoroughly. Prepare two buckets with grit guards: one filled with soapy water and the other with clean rinse water. Dip your microfiber mitt into the soapy bucket, wash one section of the car, rinse the mitt in the plain water bucket to release trapped dirt, and repeat across the entire vehicle working from top to bottom.
-
Chemical Iron Removal: Spray an iron fallout remover over the entire painted bodywork. Allow it to dwell for three to five minutes until iron particles turn purple, then rinse completely.
-
Mechanical Clay Bar Treatment: Spray a clay lubricant generously on a section of paint. Glide a synthetic or natural clay bar across the surface in straight lines until the paint feels glass-smooth. This process pulls embedded tree sap, overspray, and industrial fallout out of the clear coat.
Step 3: Paint Correction and Surface Preparation
Once the paint is clean and decontaminated, inspect the clear coat using a high-lumen detailing light. You will likely observe fine scratches, swirl marks, oxidation, and water spots. Paint correction removes a micro-layer of clear coat to level the surface and restore deep gloss.
Identify the severity of the defects to choose the correct pad and compound combination. Light swirling usually requires a medium-grade foam polishing pad with a finishing polish, while deep scratches may demand a microfiber cutting pad combined with a heavy-cutting compound.
Apply three or four pea-sized drops of compound onto the pad. Spread the product across a two-foot by two-foot test area on low machine speed. Increase the dual-action polisher to a medium-high setting and make four to six slow, overlapping passes in a grid pattern. Wipe away the compound residue using a clean, dry microfiber towel. Inspect your work under bright light. Once satisfied with the defect removal, follow up with a fine polishing pad and compound to eliminate any remaining haze and maximize paint reflection.
Step 4: Deep Cleaning the Vehicle Interior
A restored exterior loses its impact if the cabin retains smells, stains, and dusty vents. Interior restoration demands systematic removal of debris, deep fiber extraction, and precise trim reconditioning.
Start by removing all floor mats and blowing out dust, crumbs, and debris from tight crevices, seat tracks, and under-seat rails using compressed air. Vacuum the entire cabin thoroughly using multiple nozzle attachments.
For cloth seats and carpets, spray a low-foaming carpet cleaner onto high-traffic areas. Agitate the fabric with a drill brush attachment to break up embedded dirt. Use a heated carpet extractor or steam cleaner to pull the emulsified grime out of the fabric fibers. Ensure you extract as much moisture as possible to allow rapid drying and prevent mildew odors.
For leather seating, apply a pH-balanced leather cleaner with a soft horsehair brush. Work in circular motions to pull dirt out of the pores and grain of the leather. Wipe away the lifted grime with a damp microfiber towel, then apply a rich leather conditioner to restore oils and flexibility to the hide.
Clean hard plastic dashboards, center consoles, and door panels using a mild all-purpose cleaner and a soft detailing brush to reach air vents and button seams. Wipe clean and apply a non-greasy matte-finish UV protectant to shield materials against future sun damage and discoloration.
Step 5: Engine Bay and Exterior Trim Restoration
An immaculate engine bay signals high maintenance standards and completes a thorough detailing job. Ensure the engine is completely cool before starting.
Cover delicate electronic components, such as the alternator, fuse box, open air intakes, and exposed wiring harnesses, with plastic wrap or foil. Spray a dedicated heavy-duty degreaser across all plastic covers, hoses, firewall insulation, and painted inner fenders. Allow the product to dwell for several minutes, agitate stubborn areas with a stiff-bristled detailing brush, and rinse carefully using a low-pressure water stream.
Remove the protective covers and dry the bay thoroughly using forced air or clean microfiber towels. Once dry, apply a high-temperature resistant dressing to plastic engine covers, rubber hoses, and trim pieces to restore a factory-satin finish without leaving a sticky oil residue.
Faded exterior plastic body cladding, bumper trim, and window surrounds should be treated with a dedicated plastic trim restorer. Avoid temporary silicon dressings that wash off in the rain; instead, apply an oil-based plastic pore-penetrating restorer or a ceramic trim coating that chemically bonds to restore deep black tones for months.
Step 6: Paint Protection, Glass, and Final Inspection
The final stage seals all your hard work, ensuring long-lasting shine, hydrophobic water repellency, and protection from UV rays and environmental pollutants.
Apply a durable protective coating over the polished paintwork. Options include synthetic polymer paint sealants, traditional carnauba waxes, or advanced ceramic coatings. Ceramic coatings offer the maximum longevity and chemical resistance, lasting anywhere from one to five years depending on the formulation. Work one panel at a time, applying the coating with a dedicated applicator pad, allowing it to flash according to manufacturer guidelines, and buffing off the residue with a fresh microfiber towel.
Clean all exterior and interior glass surfaces using an ammonia-free glass cleaner and a waffle-weave microfiber towel. Ammonia-free formulas are critical to prevent damaging aftermarket window tinting. Use two towels: one to spread the cleaner and lift dirt, and a second dry towel to perform a final streak-free wipe.
Apply a dry-to-the-touch tire dressing using a foam applicator to give the tires a deep, clean finish without fling-off. Conduct a final walkthrough under detailed illumination, wiping away any stray polish dust or dressing streaks.
Frequently Asked Questions
How often should a full paint correction and detailing process be performed?
A full detailing process with paint correction should only be performed every two to three years, or as needed based on paint condition. Because paint correction removes a thin layer of the clear coat, doing it too frequently can thin the clear coat excessively. Regular maintenance washes and protective sealant top-offs every three to six months will keep the paint looking new between full corrections.
Can household dish soap be used as a pre-wash cleaner?
Household dish soap should generally be avoided for regular car washing because it strips away protective waxes and paint sealants. However, professional detailers occasionally use dish soap or dedicated strip soaps prior to a full paint correction to strip off old layers of wax, silicone, and grease, provided a new protective coating is applied immediately after.
What is the practical difference between car wax, synthetic sealant, and ceramic coating?
Carnauba car wax provides a deep, warm gloss but typically breaks down within four to eight weeks due to heat and rain. Synthetic paint sealants are engineered polymers that offer durable protection and hydrophobic properties for four to six months. Ceramic coatings utilize silicon dioxide nanoparticles that form a permanent or semi-permanent chemical bond with the clear coat, providing exceptional hardness, chemical resistance, and self-cleaning properties for several years.
How do you eliminate persistent smoke or mildew odors from a car interior?
Persistent odors require a two-stage approach: deep physical extraction of carpets and headliners, followed by an ozone generator treatment or chlorine dioxide vapor deployment. Ozone oxidizes organic compounds and smoke molecules trapped inside ductwork, foam seat cushions, and fabric fibers, permanently neutralizing the odor rather than temporarily masking it.
Is engine bay detailing safe for modern vehicles with heavy electronics?
Engine bay detailing is safe when proper precautions are taken. Modern engine compartments feature sealed electrical connectors, but high-pressure water should never be sprayed directly onto sensitive components. Cover the alternator, exposed air intakes, fuse boxes, and aftermarket wiring with plastic. Keep the pressure low, rely primarily on brush agitation and degreasers, and dry the bay thoroughly before starting the engine.
How do you repair clear coat scratches that are too deep for machine polishing?
If a scratch passes through the clear coat into the color base coat, machine polishing will not remove it completely. Test the depth by running a fingernail across the scratch; if your nail catches, the scratch requires touch-up paint. Fill the groove using exact-match OEM touch-up paint, allow it to cure, level the excess paint flush with the clear coat using fine 2000-grit wet sandpaper, and polish the area to blend the finish.
What is the best method to prevent leather seats from cracking over time?
Leather cracks when it loses its moisture content and natural oils due to UV exposure and ambient heat. Clean leather seats every two to three months to remove abrasive dirt particles that act like sandpaper inside the grain. Follow up with an interior-grade leather conditioner or ceramic leather protection spray to block UV rays, keep the hide pliable, and prevent premature drying and cracking.

Comments are closed.